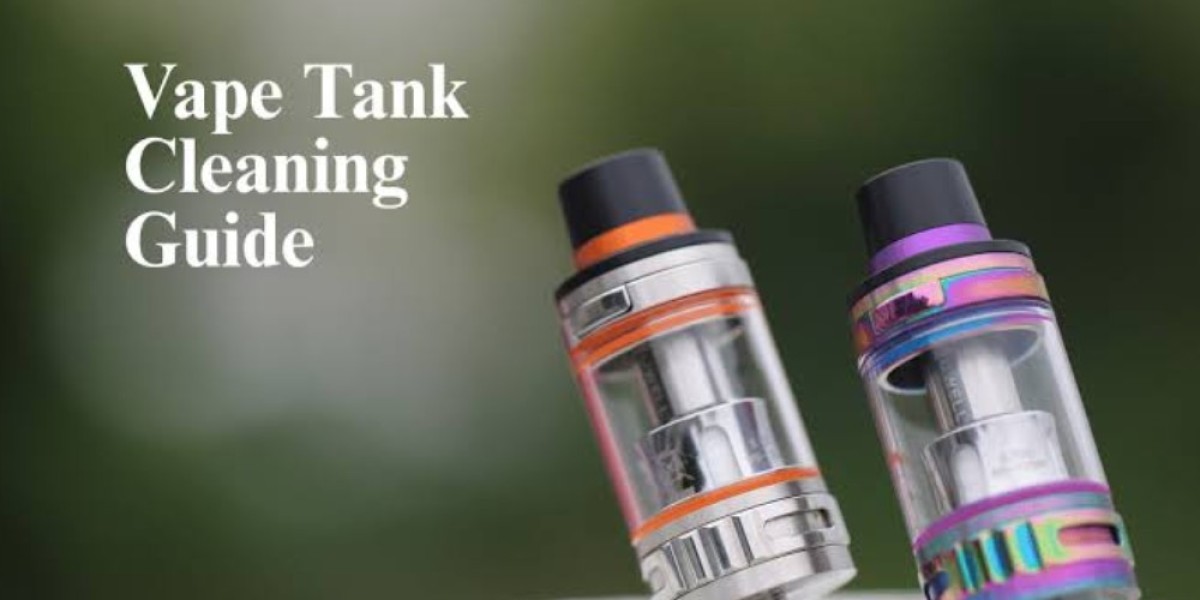

A clean vape tank can make a noticeable difference to flavour, vapour production and overall device performance. Over time, e-liquid residue, dust and condensation can build up inside the tank, around the mouthpiece and near the connections. If these areas are not cleaned regularly, old flavours can linger and your vape may not perform as well as it normally does.
Cleaning a vape tank does not need to be difficult or take a long time. With a few simple steps, you can remove old e-liquid, clean the removable parts and make sure everything is completely dry before using the tank again. Regular maintenance can also help you spot worn seals, damaged glass or a coil that needs replacing.
Why Should You Clean Your Vape Tank?
E-liquid residue can gradually collect on the inside of a tank, particularly when using sweet or strongly flavoured e-liquids. This residue can affect the taste of a new e-liquid and may leave behind what is sometimes called flavour ghosting. Cleaning the tank when changing flavours can help provide a cleaner starting point for the next e-liquid you use.
Regular cleaning can also help maintain the physical condition of your tank. Dust and condensation can collect around the mouthpiece, airflow openings and connection points. Keeping these areas clean can help maintain airflow and reduce the build-up of unwanted residue. UK vape guides commonly recommend cleaning tanks regularly rather than waiting until performance has noticeably declined.
What You Need Before Cleaning
You do not normally need specialist equipment to clean a standard vape tank. Warm water, kitchen roll or a soft lint-free cloth are usually enough for routine cleaning. Having a clean, dry surface available is also useful because the individual tank components need to be left to dry completely before the device is used again.
Before starting, make sure the vape is switched off and separated from the battery or device where appropriate. You should also check the manufacturer's instructions because tank designs vary. Most importantly, never put electronic components, batteries or a powered device into water. Only clean the removable tank components that are designed to be washed.
Empty the Tank
The first step is to remove any remaining e-liquid from the tank. Do not attempt to wash the tank while it is still full. Pour or drain the remaining liquid appropriately and wipe away any excess from the outside of the tank with kitchen roll.
If you are changing flavours, removing as much of the previous e-liquid as possible is particularly useful. A small amount of old liquid left inside can mix with your new flavour and change its taste. Once the tank is empty, you can begin taking it apart according to the manufacturer's instructions.
Remove the Coil
If your tank uses a replaceable coil, remove it before washing the tank. The coil should not simply be left inside the tank while you rinse the other components. Current cleaning guidance from Ecigone specifically recommends removing the coil before washing a tank, while Vape Club also advises separating the individual components before cleaning.
Whether you should clean or replace the coil depends on its condition and the type of coil you are using. If the coil is old, burnt or producing weak flavour, replacing it is generally more practical than trying to clean it. A new coil should be primed with e-liquid and allowed to saturate before vaping.
Take the Tank Apart
Once the coil has been removed, separate the tank into its washable components. Depending on the design, this may include the glass section, base, top cap, mouthpiece and other removable parts. Keep track of where each component belongs so you can put the tank back together correctly.
Pay particular attention to the small rubber O-rings around the tank. These seals help prevent e-liquid from leaking, and they can become worn, flattened or displaced over time. If an O-ring looks damaged, check whether your tank came with replacement seals and follow the manufacturer's instructions for replacing them.
Rinse the Removable Parts
For routine cleaning, rinse the removable tank components with warm water. Avoid using boiling water because excessive heat may damage certain materials or seals. Vape Club recommends rinsing individual components with warm water and allowing them to dry thoroughly before reassembly.
If your tank has particularly stubborn residue, follow the manufacturer's cleaning instructions rather than using strong household chemicals. Some guides recommend a small amount of washing-up liquid for certain removable components, while others advise using water alone. The important point is to rinse thoroughly and make sure no cleaning residue remains before the tank is used.
Clean the Mouthpiece
The mouthpiece is one of the parts that can collect condensation, dust and e-liquid residue during everyday use. A dirty mouthpiece can affect the overall experience and may make the airflow feel less clear. Cleaning it regularly is therefore a simple part of good vape maintenance.
Remove the mouthpiece if your tank design allows it and rinse it with warm water. You can gently wipe the outside and inside with kitchen roll or a suitable cotton swab where appropriate. Make sure it is completely dry before putting it back onto the tank.
Dry Everything Completely
Drying is just as important as washing. Do not refill your tank while there is still water inside it because remaining moisture can affect the e-liquid and vaping experience. After rinsing, gently dry the components with kitchen roll or a soft cloth and then leave them somewhere clean to air-dry.
Allow enough time for all moisture to disappear, particularly around small gaps and seals. Ecigone recommends allowing cleaned components to dry fully before reassembly, while Vape Club also stresses that the tank should not be used until all moisture has evaporated.
Check the Tank Before Reassembling
Before putting everything back together, inspect the tank carefully. Check the glass for cracks, look at the O-rings and make sure the threads are clean. If you notice a damaged glass section or worn seal, replacing the affected part may help prevent leaks and other problems.
Also check the connection area where the tank attaches to the device. A small amount of residue can collect around the connection, so gently wipe the area with a dry cotton swab or cloth if necessary. Do not introduce water into the battery, charging port or electronic parts of the device.
Reassemble and Refill
Once every component is completely dry and in good condition, carefully reassemble the tank. Make sure the coil is fitted correctly and that the seals are positioned properly. Avoid overtightening components because excessive force can damage threads or seals.
If you have installed a new coil, add e-liquid and allow the coil to become fully saturated before vaping. Many manufacturer and retailer guides recommend waiting several minutes after filling a new coil before use. Starting within the recommended power range can also help prevent a dry or burnt hit.
How Often Should You Clean a Vape Tank?
There is no single cleaning schedule that works for every vaper. How often you need to clean your tank depends on how frequently you use it, the type of e-liquid you use and whether you regularly change flavours. Vape Club recommends cleaning a tank roughly every couple of weeks, while more recent Ecigone guidance suggests a simple routine involving regular wiping and periodic washing.
A good approach is to clean the tank whenever you notice residue, a change in flavour or visible build-up. It is also sensible to clean it when changing between very different e-liquid flavours. Regular light maintenance can be easier than allowing heavy residue to accumulate and then attempting a deeper clean.
When Should You Replace the Coil?
Cleaning the tank does not mean you can keep the same coil indefinitely. Coils are consumable components and eventually need to be replaced. If your vape develops a persistent burnt taste, noticeably weaker flavour or reduced performance, the coil may be reaching the end of its useful life.
Coil lifespan varies depending on the device, power level, e-liquid and frequency of use. Sweet e-liquids can create more residue, while higher-powered devices can use coils more quickly. Rather than cleaning a badly worn coil repeatedly, replacing it with a compatible new coil is often the more practical solution.
Tips to Keep Your Vape Tank Working Properly
Regularly topping up your tank can help keep the coil saturated and reduce the chance of dry hits. You should also use an e-liquid that is suitable for your particular coil and device. Always follow the recommended power range and avoid filling the tank beyond its stated maximum level.
When shopping for compatible vaping equipment from an online vape shop, check the tank specifications and make sure replacement coils are designed for your device. Keeping spare compatible coils and replacement seals available can also make routine maintenance easier. Simple habits such as wiping the mouthpiece, checking for leaks and cleaning the tank regularly can help keep your setup performing consistently.
Conclusion
Cleaning a vape tank is a simple part of regular vape maintenance. Emptying the tank, removing the coil, washing the appropriate removable parts and allowing everything to dry completely can help maintain flavour and performance. Checking O-rings, glass and connections at the same time can also help you identify potential problems before they become more noticeable.
You do not need complicated equipment for routine cleaning. A little regular maintenance can help prevent flavour mixing, remove e-liquid residue and keep your tank in better condition. Always follow your device manufacturer's instructions, keep electronic components away from water and replace coils or damaged parts when necessary.