
Many people think they can load a JPG image into an embroidery machine and start stitching. Unfortunately, it does not work that way. Embroidery machines cannot understand image files. They only read embroidery files that contain stitch instructions. That is why professional digitizing is an important part of creating clean and high-quality embroidery.
Professional digitizers transform JPG artwork into DST embroidery files by rebuilding the design with carefully planned stitches instead of simply converting the image. Every stitch is placed by hand to match the artwork while improving stitch quality, fabric stability, and machine performance. This process helps create embroidery files that produce smooth, accurate, and professional-looking results on many different fabrics.
What Is a DST Embroidery File?
A DST file is one of the most common embroidery file formats.
It is supported by many commercial embroidery machines.
A DST file contains stitch instructions instead of image data.
It tells the embroidery machine:
Where each stitch begins
Stitch direction
Thread movement
Jump stitches
Trim points
Without these instructions, embroidery machines cannot create a design.
Why JPG Images Cannot Be Used Directly
A JPG file is made from pixels.
Pixels work well for screens and printing.
Embroidery machines do not understand pixels.
They require stitch information instead.
That is why professional digitizing is necessary.
What Is Embroidery Digitizing?
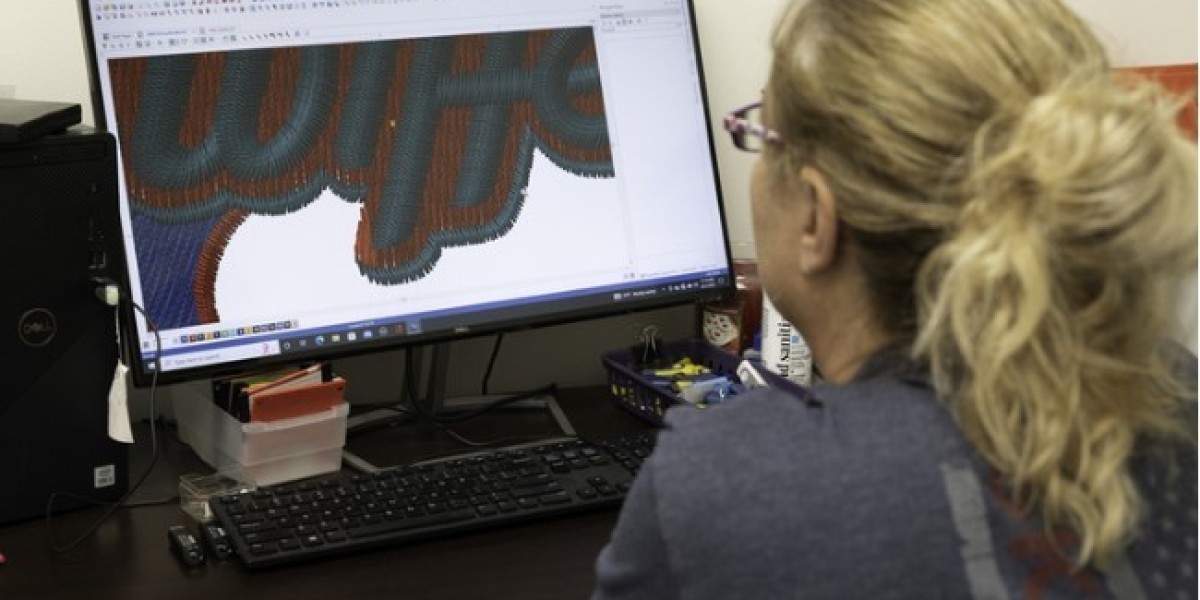
Embroidery digitizing is the process of rebuilding artwork with embroidery stitches.
It is not automatic file conversion.
Professional digitizers manually create:
Stitch paths
Stitch angles
Underlay
Stitch density
Pull compensation
Stitch order
Every choice affects the final embroidery.
Every Design Requires Different Planning
No two embroidery projects are exactly the same.
Different artwork requires different embroidery techniques.
Business Logos
Corporate logos need:
Sharp edges
Clean lettering
Balanced stitching
Artwork
Illustrations often contain many shapes.
These require careful stitch planning.
Photos
Photographs require simplification before stitching.
Small details must be adjusted for embroidery.
Choosing the Correct Stitch Types
Professional digitizers select stitch types based on the design.
Satin Stitch
Satin stitches work well for:
Text
Borders
Small shapes
They create smooth and shiny embroidery.
Fill Stitch
Fill stitches are used for:
Large objects
Backgrounds
Wide logo areas
They provide strong thread coverage.
Running Stitch
Running stitches are useful for:
Thin outlines
Small details
Decorative accents
Using the correct stitch type creates better embroidery.
Stitch Direction Improves Appearance
Stitch direction affects how embroidery looks.
It changes:
Texture
Depth
Light reflection
Stitch coverage
Professional digitizers adjust stitch angles throughout the design.
This creates more natural-looking embroidery.
Underlay Creates a Strong Foundation
Underlay is hidden stitching beneath the top stitches.
It supports the embroidery.
Good underlay helps:
Stabilize fabric
Improve stitch quality
Reduce movement
Prevent puckering
Strong embroidery begins with strong underlay.
Stitch Density Must Be Balanced
Density controls how closely stitches are placed together.
Too much density creates:
Thread breaks
Heavy embroidery
Fabric distortion
Too little density creates:
Weak coverage
Empty spaces
Poor appearance
Professional digitizers carefully balance stitch density.
Pull Compensation Keeps Designs Accurate
Fabric moves while embroidery is being stitched.
Pull compensation adjusts shapes before stitching begins.
Without it:
Letters become narrow.
Circles become oval.
Borders become uneven.
These small adjustments improve accuracy.
Every Fabric Behaves Differently
Professional digitizers adjust embroidery files for different materials.
Cotton
Cotton provides stable embroidery.
Standard settings usually work well.
Performance Fabrics
Stretch fabrics often require:
Better underlay
Lower density
Extra pull compensation
Caps
Hat embroidery needs:
Larger lettering
Strong support
Center-out stitching
Jackets
Heavy fabrics require stronger stitch foundations.
Each fabric needs different embroidery settings.
Small Lettering Needs Special Attention
Tiny text is one of the hardest parts of embroidery.
Professional digitizers improve readability by:
Increasing spacing
Simplifying details
Using satin stitches
Adjusting stitch direction
These changes create cleaner lettering.
Test Stitching Improves Quality
Experienced digitizers often sew sample designs before final delivery.
Testing helps check:
Stitch quality
Thread tension
Fabric movement
Letter clarity
Overall appearance
Small adjustments improve production quality.
Common Problems with Poor Digitizing
Poor embroidery files often create:
Broken thread
Rough outlines
Uneven borders
Missing details
Fabric puckering
Slow machine performance
Professional digitizing helps eliminate these problems.
Why Businesses Choose Professional Digitizing
Professional embroidery files provide many advantages.
These include:
Better stitch quality
Faster production
Cleaner logos
Better branding
More consistent embroidery
Longer-lasting designs
Quality embroidery always starts with quality digitizing.
Many embroidery businesses trust Absolute Digitizing because experienced digitizers manually prepare machine-ready DST embroidery files that produce clean stitching, reliable machine performance, and consistent embroidery quality on uniforms, hats, jackets, bags, and promotional products.